In my role as a Guide Leader I was at a table top sale on Saturday supervising our girls raising money for the British Heart Foundation and Guide Friendship Fund. On a nearby stall I spotted some paper flowers and needed to know how to make them! Fortunately I knew the stall holder, a Brownie leader, with a nearby unit. Karen, showed me how a single petal was folded and gave it to me to take away.
 Once home I found some suitable paper for folding and had a go at my first flower. I was amazed at how simple this is to make yet how effective it looks. So for those of you who would like to have a go here is my step by step guide.
What you need
6 square pieces of paper, regular printer weight paper is great, 10x10cm is a good size
Double sided sticky tape
Scissors

Step 1 With the plain side up, if patterned on one side, fold along dashed line.
Step 2 Fold each outside point to the centre top point, along the dashed lines.
Step 3 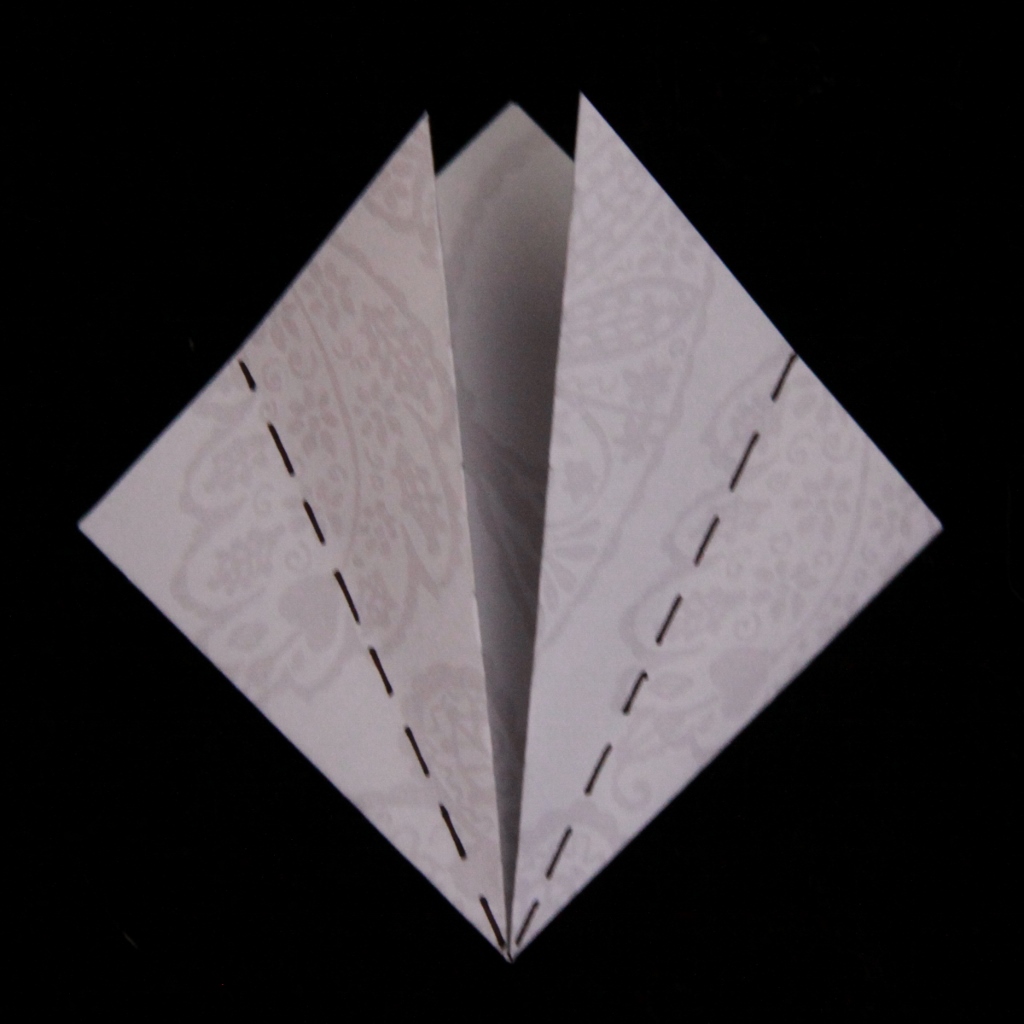 Fold the top flaps out so that the inner edges meet the outer edges, along the dashed lines.
Step 4 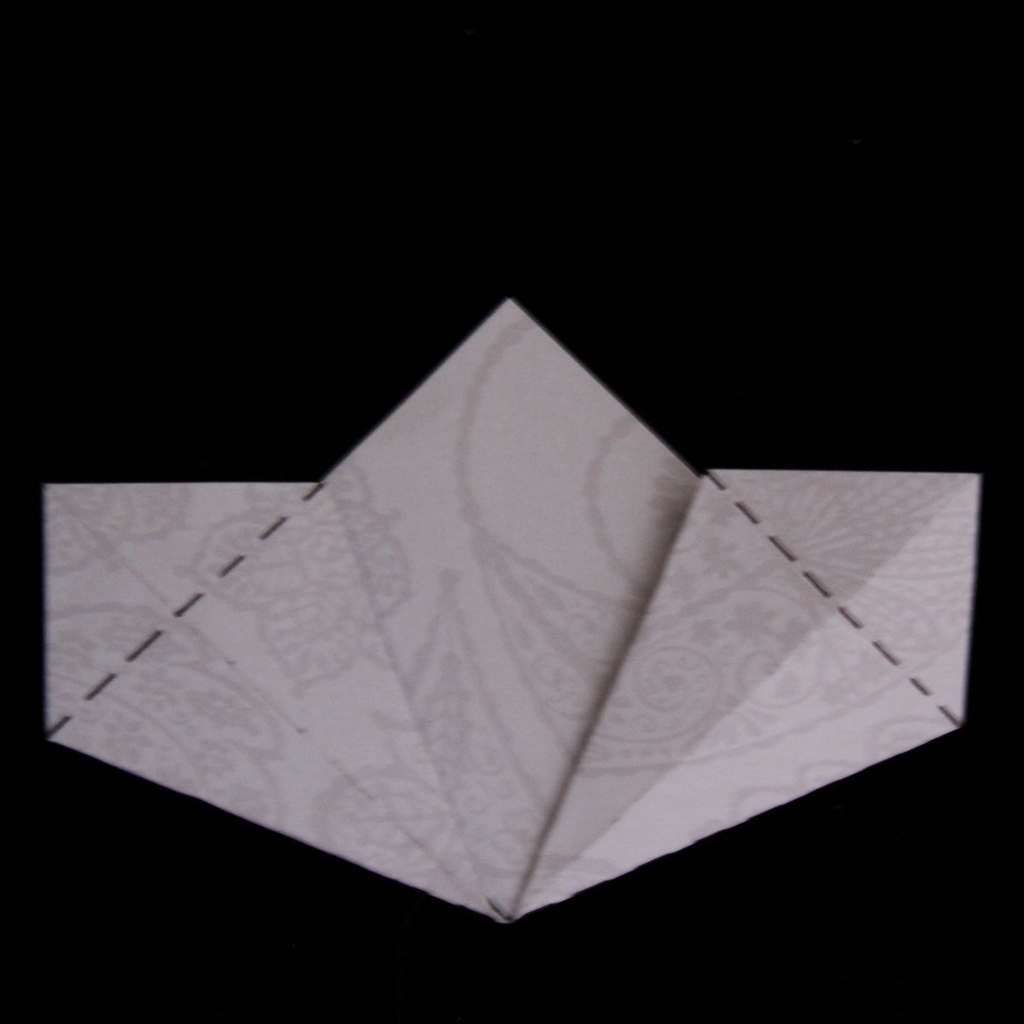 Open out the the upper flaps by unfolding the last 2 steps, putting your finger in between the two sheets, then flatten. Fold the points down, along the dashed lines.
Step 5 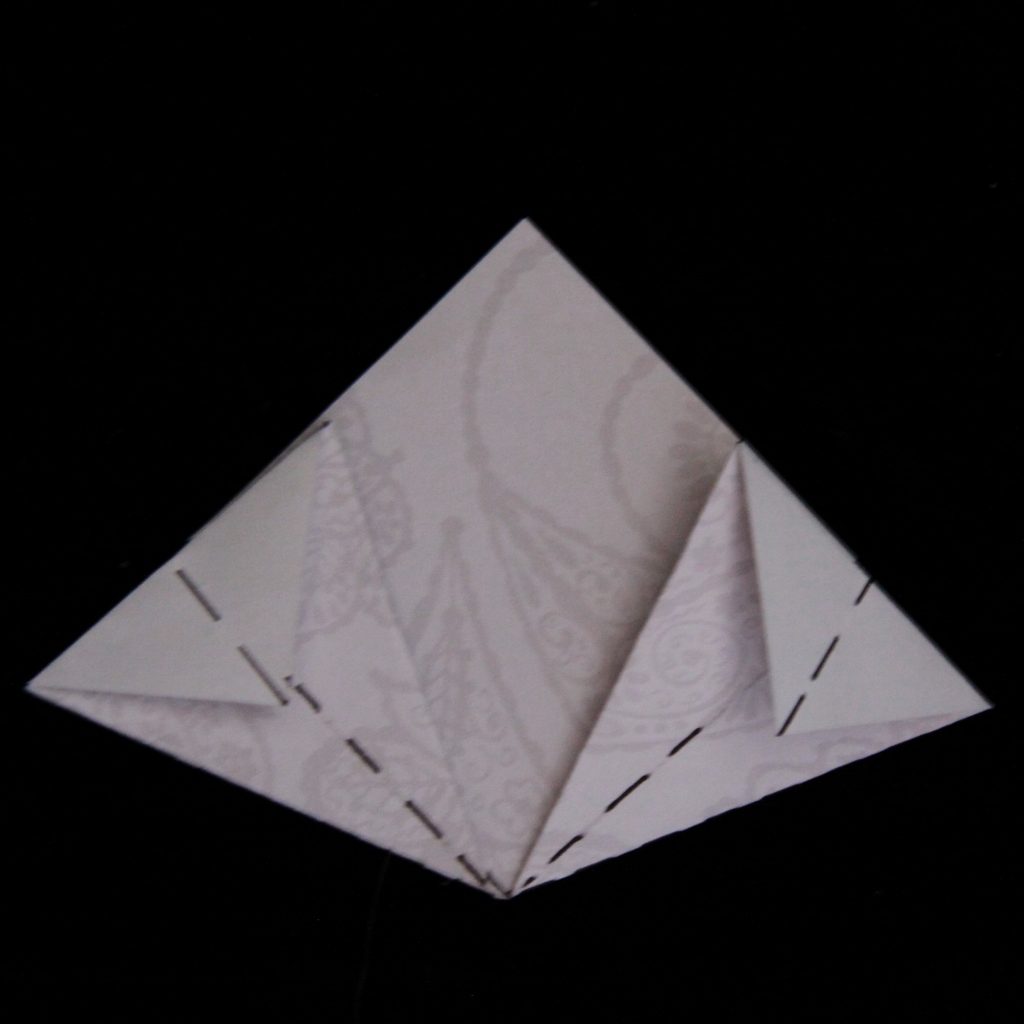 Fold the outer edges in, along the dashed lines.
Step 6  Use double sided sticky tape, or glue at one point x. Bring points x together.
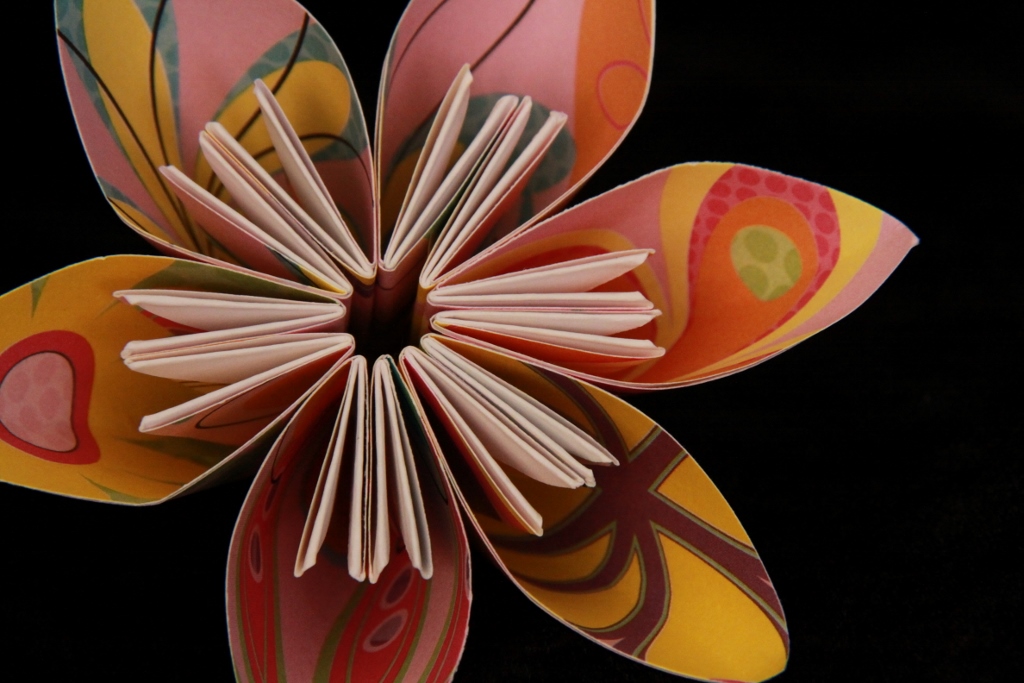
Step 7 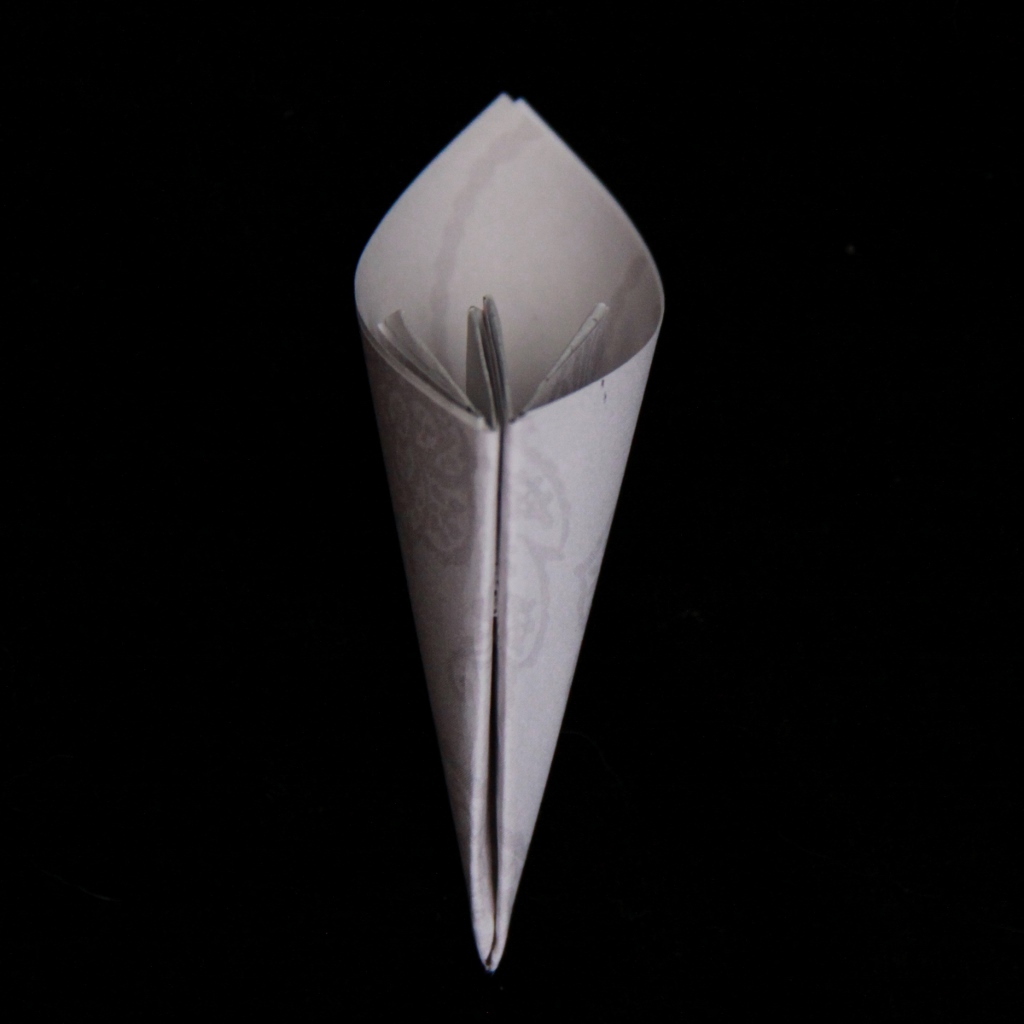 Here’s your first petal! Make 5 more as per the steps above and stick them together to form your flower.
So far I’ve only used craft paper but I’m sure these can be made from anything – magazines, old maps, manuscript paper. The size of the square you start with determines the size of the resulting flower and the number of petals is not fixed. Play around to get the design you like, or make an assortment.